Name: Caitlyn Sellar
Date and Time: September 13, 2016 - October 7, 2016
Location: 270 Fort Washington Ave, 5th floor apartment, New York, by the kitchen window
Subject: Growing verdigris
1. I received my verdigris a couple of days after my classmates, but began growing the verdigris on September 13, 2016. In thinking about growing verdigris, I first consulted a number of recipes and ultimately settled on one from Mary Merrifield's volumes on painting from the nineteenth century:
“How to make the green from brass which is called Greek or common green - If you wish to make the copper-green which is called Greek, take a new jar, or any other concave vase, and put into it the strongest or most acid vinegar, so as not to fill it , and put strips of very clean copper or brass over the vinegar, so that they may not touch the vinegar or each other, being suspended to a stick placed across the vase. Then cover the vase and seal it, and put it into a warm place, or in dung, or under ground, and leave it so for six months, and then open the vase and scrape and shake out what you find in it, and on the strips of metal, into a clean vase, and put it in the sun to dry.”
Merrifield, Mary P. Original Treatises Dating from the XIIth to XVIIIth Centuries on the Arts of Painting, 2 vols (London: John Murray, 1849), p. 124
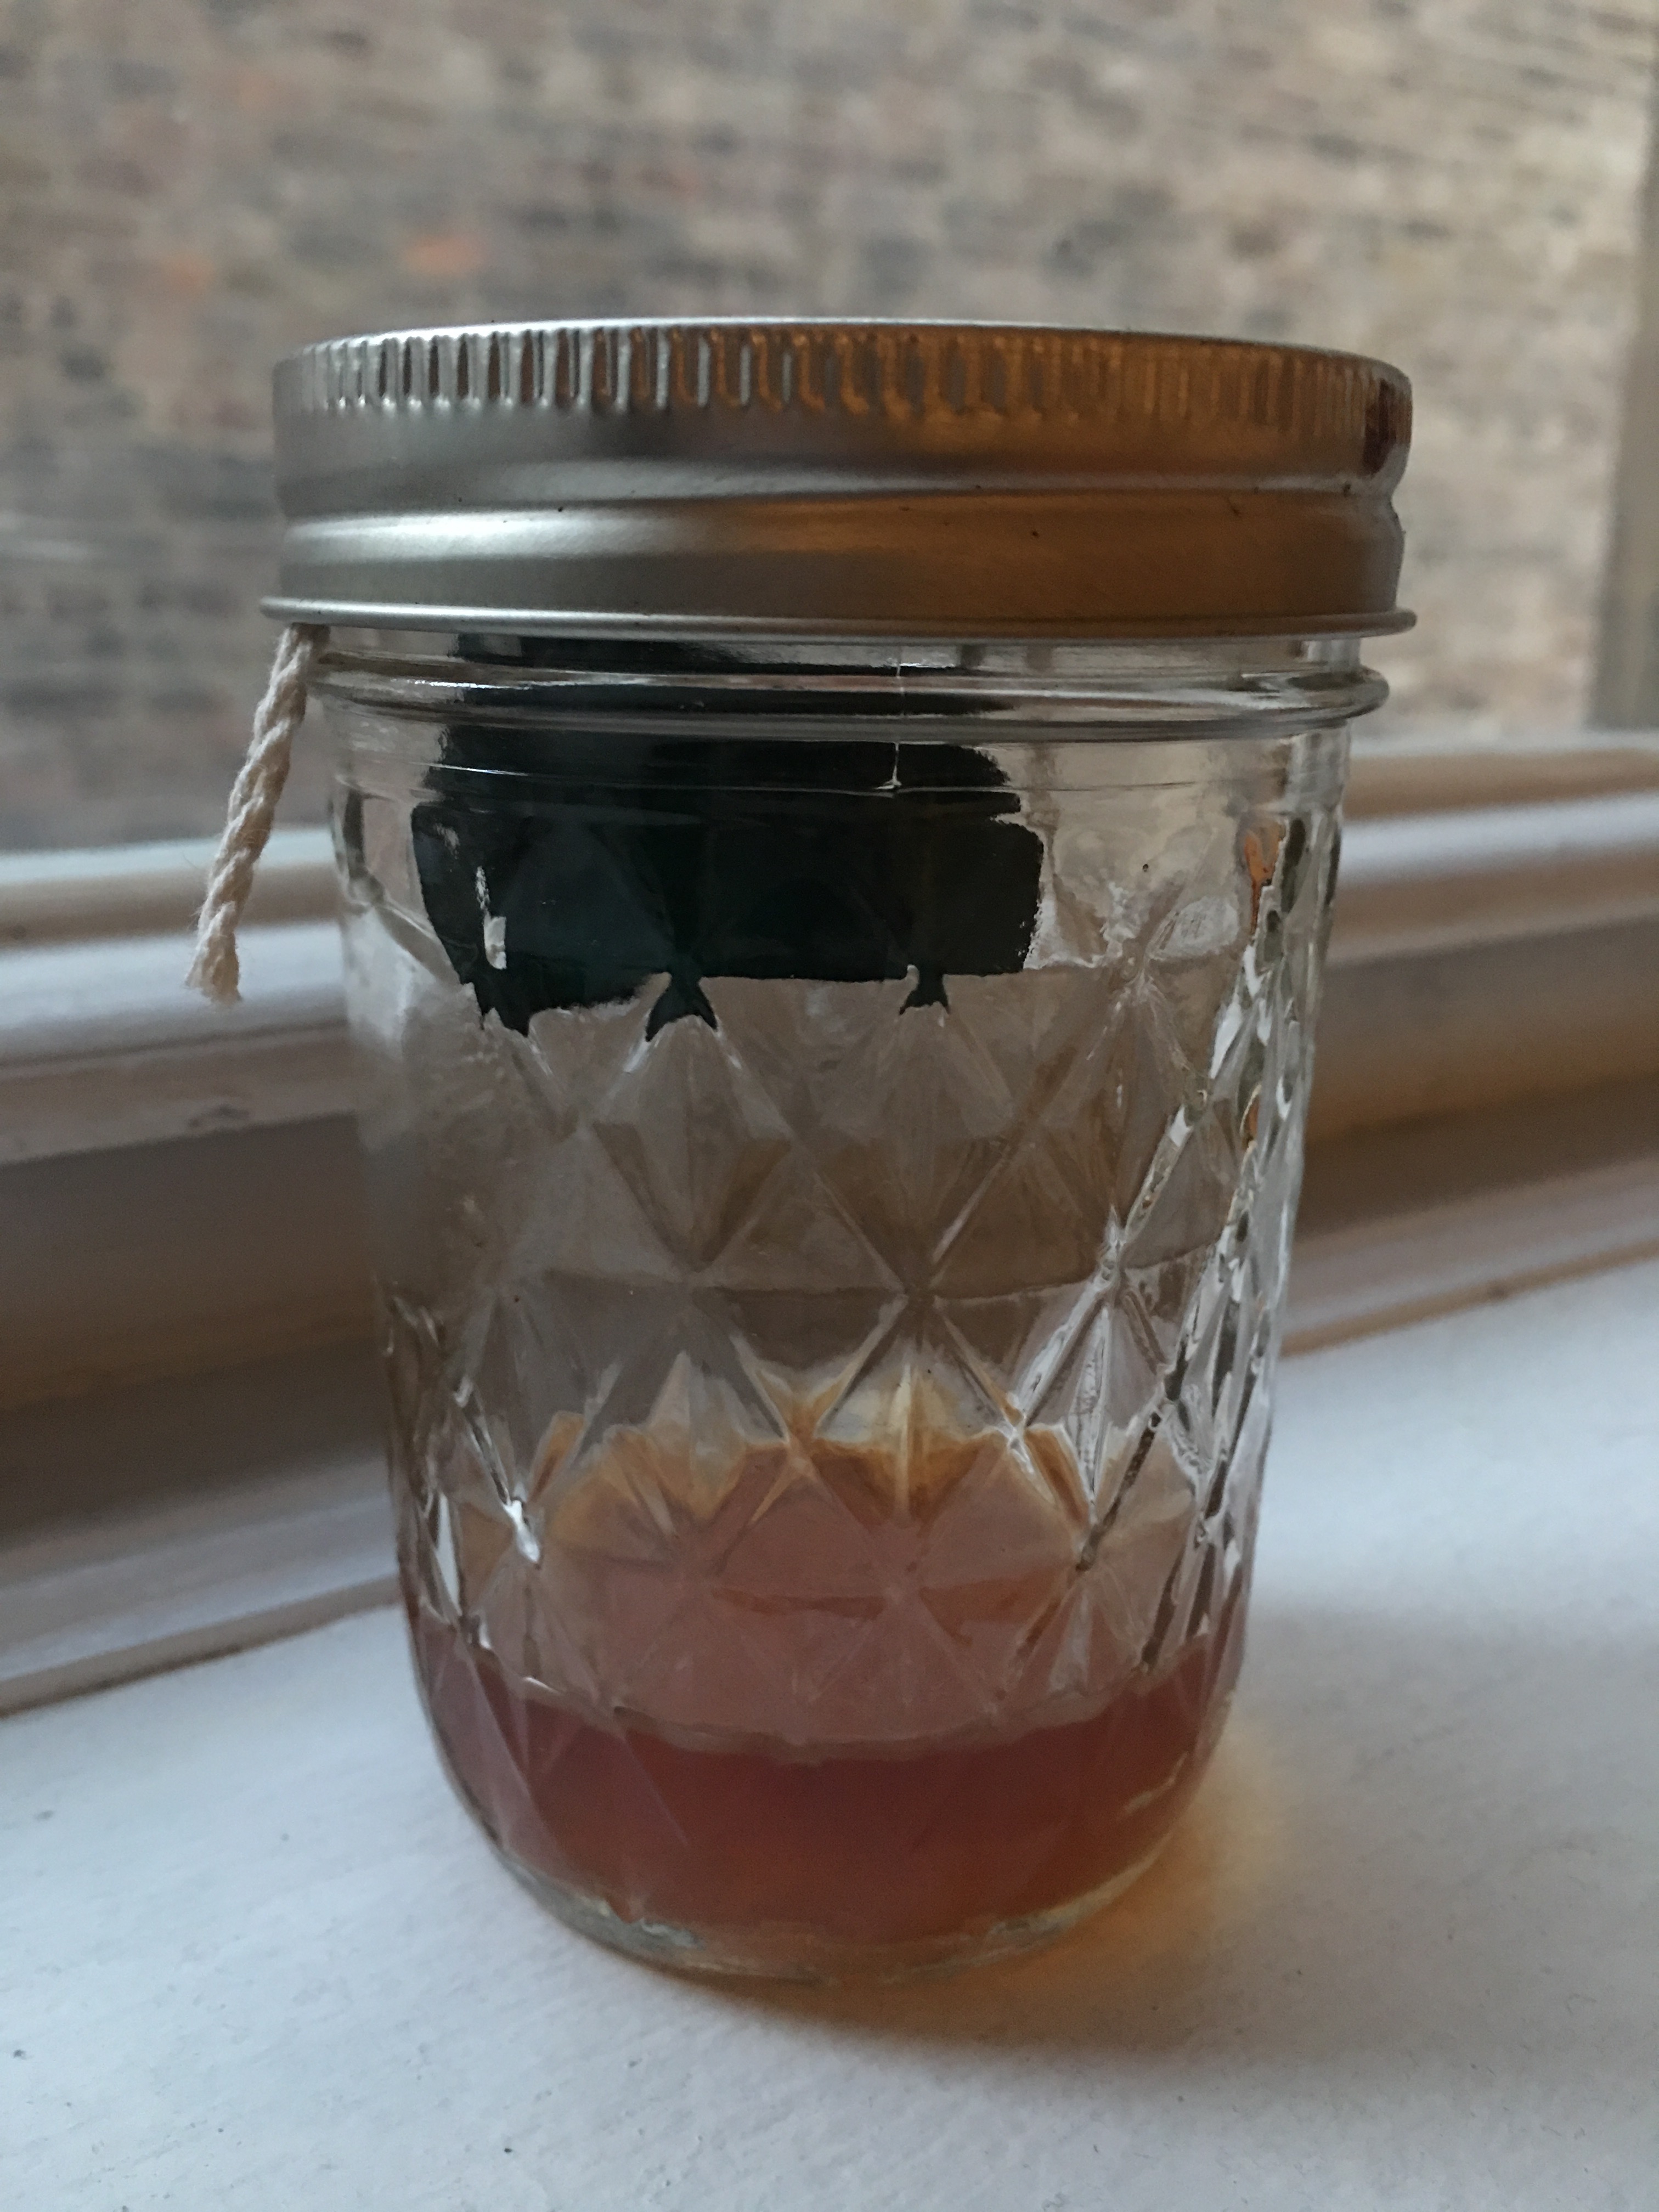
2. The recipe calls for suspending a piece of copper over strong vinegar in a jar in a warm place. The copper, jar, and a piece of string were supplied to us from the lab. In order to approximate the type of vinegar used in this time period, I opted for organic apple cider vinegar of the mother. In thinking about this selection, I tried to figure out what some of the stronger types of vinegar are, and attempted to get an organic type since artisans and pigment-makers of the time period would not have had the same processed vinegars as we do today. I was also unsure of how much vinegar to put into the jar, and wondered if the amount of vinegar would impact the shade of the verdigris, or the thickness. Ultimately, I decided to fill the jar only about 1/5 of the way full, to make sure that the vinegar would not touch the copper if the jar was accidentally moved at all.
3. The part of the recipe that stumped me the most was the "suspension" of the copper. I was unsure of how to suspend the copper on a piece of string (which stands in for the 'stick' mentioned by Merrifield) without using any modern materials. I first thought of taping the copper to the string, but quickly decided that that would not be period appropriate. Instead, I came to the conclusion that I could simply bend the copper around the string, and let it 'hang' off of it. (See pictures below).
4. I then placed the copper on the windowsill in my apartment's kitchen, since that window receives the most sunlight and would therefore, hopefully, keep the jar warm as the recipe stipulates. Over time, the copper in the jar turned blue; even from the first day to the second, there was a noticeable difference in the color of the copper.

Session 2 - Painting Out
Name: Caitlyn Sellar
Date and Time: October 3, 2016
Location: Making and Knowing Lab
Trial 1 - Linseed oil
Ingredients and tools:
- verdigris (I used Tianna's verdigris, grown for about 2 weeks at her home using apple cider vinegar)
- linseed oil (supplied by lab)
- ceramic plate
- palette knife
- oil paint brush
- pipette
Procedure:
1. To begin, we scraped the verdigris off of the copper itself using the palette knife on the ceramic plate. I took the copper off of the string and scraped the verdigris off using short motions, which seemed to work best.
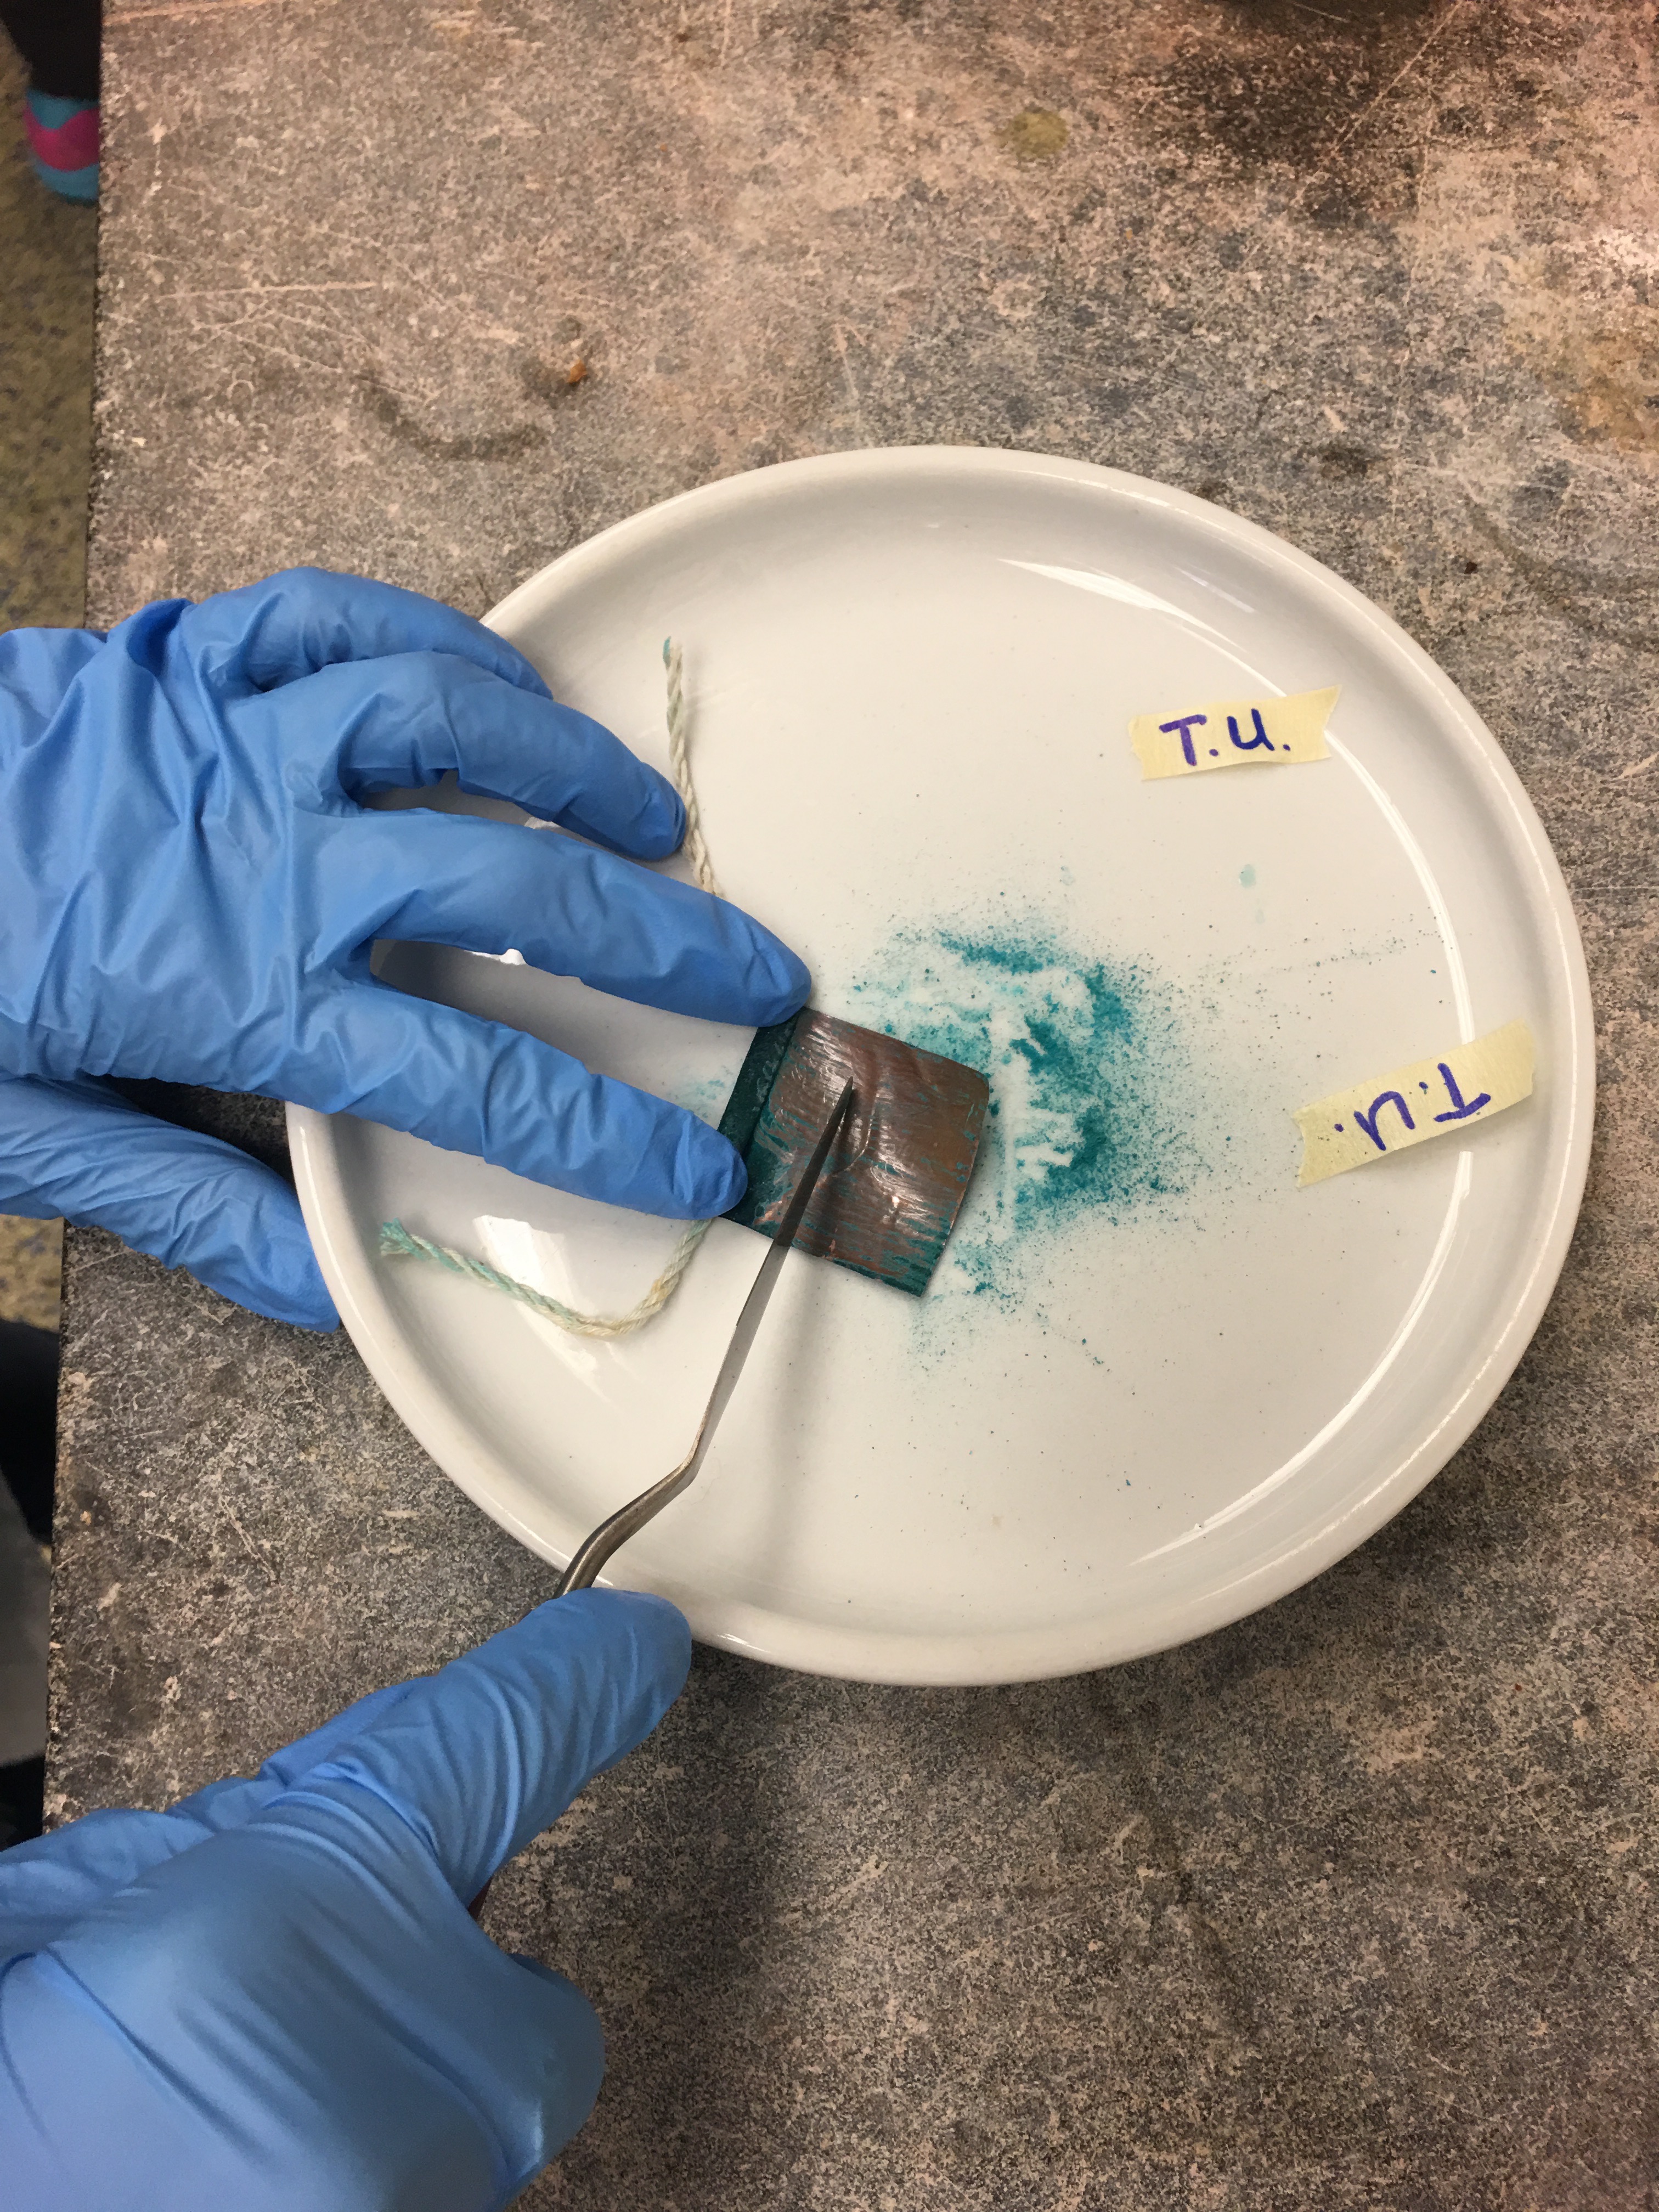
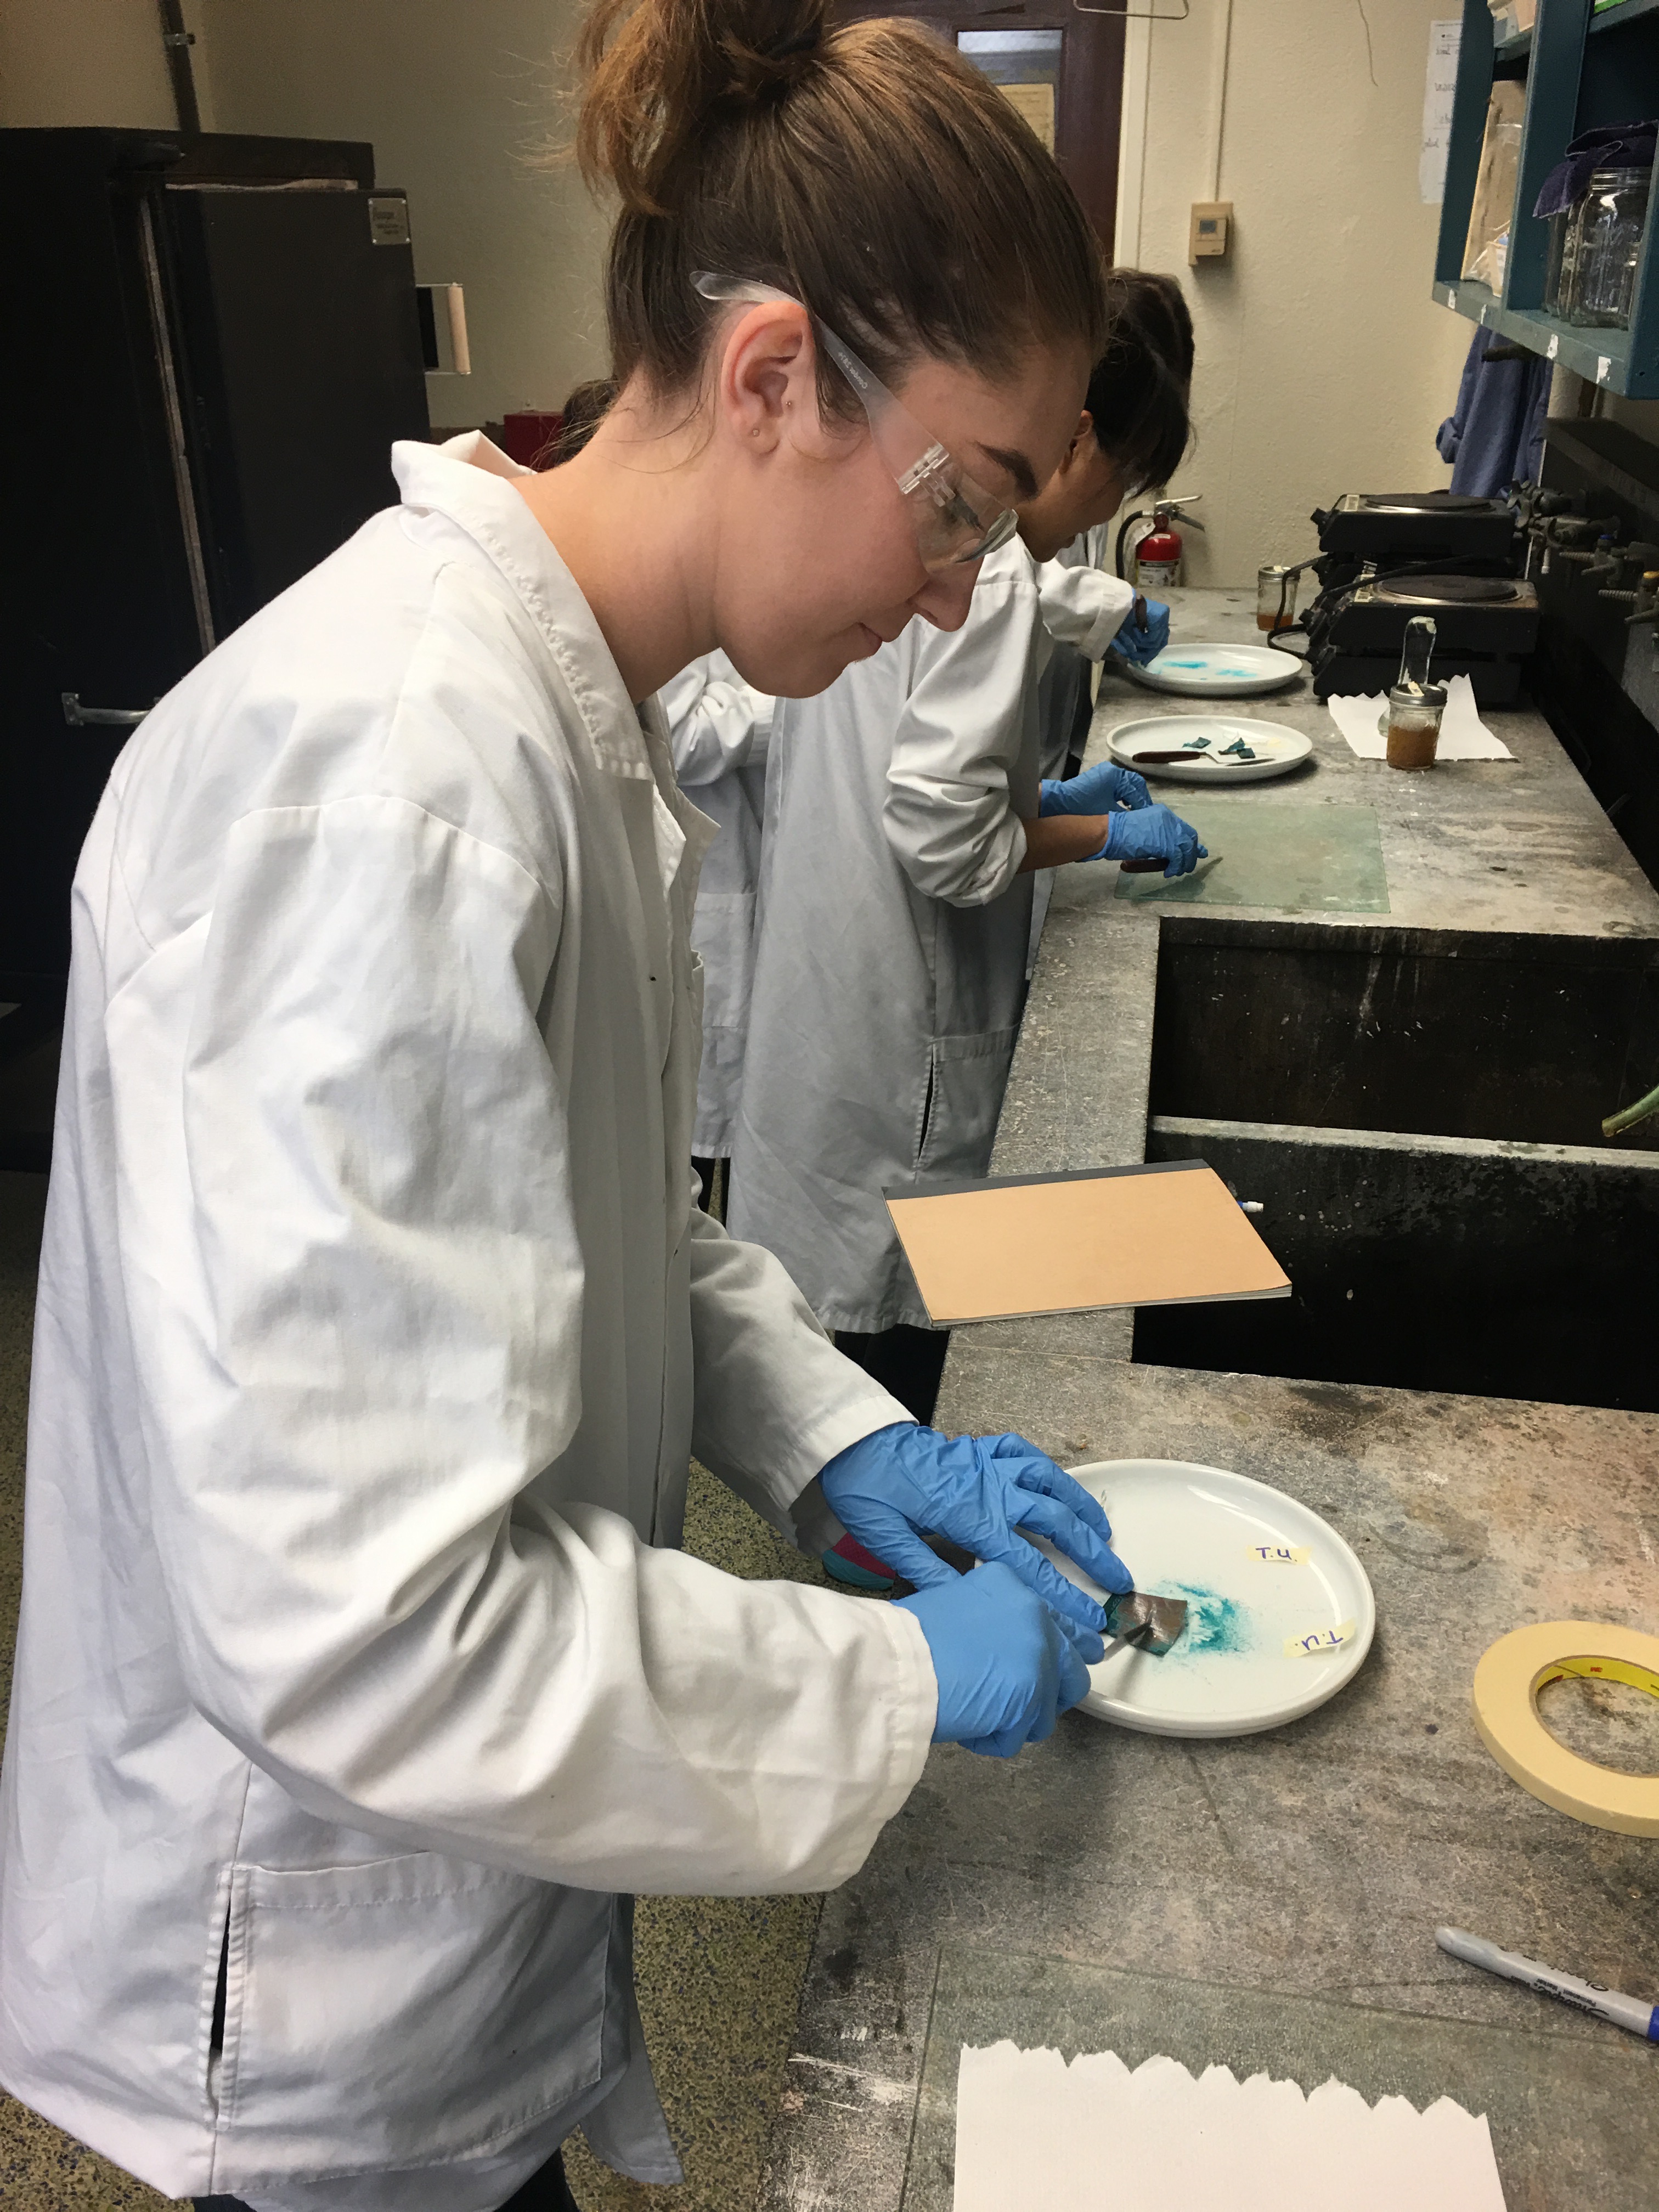
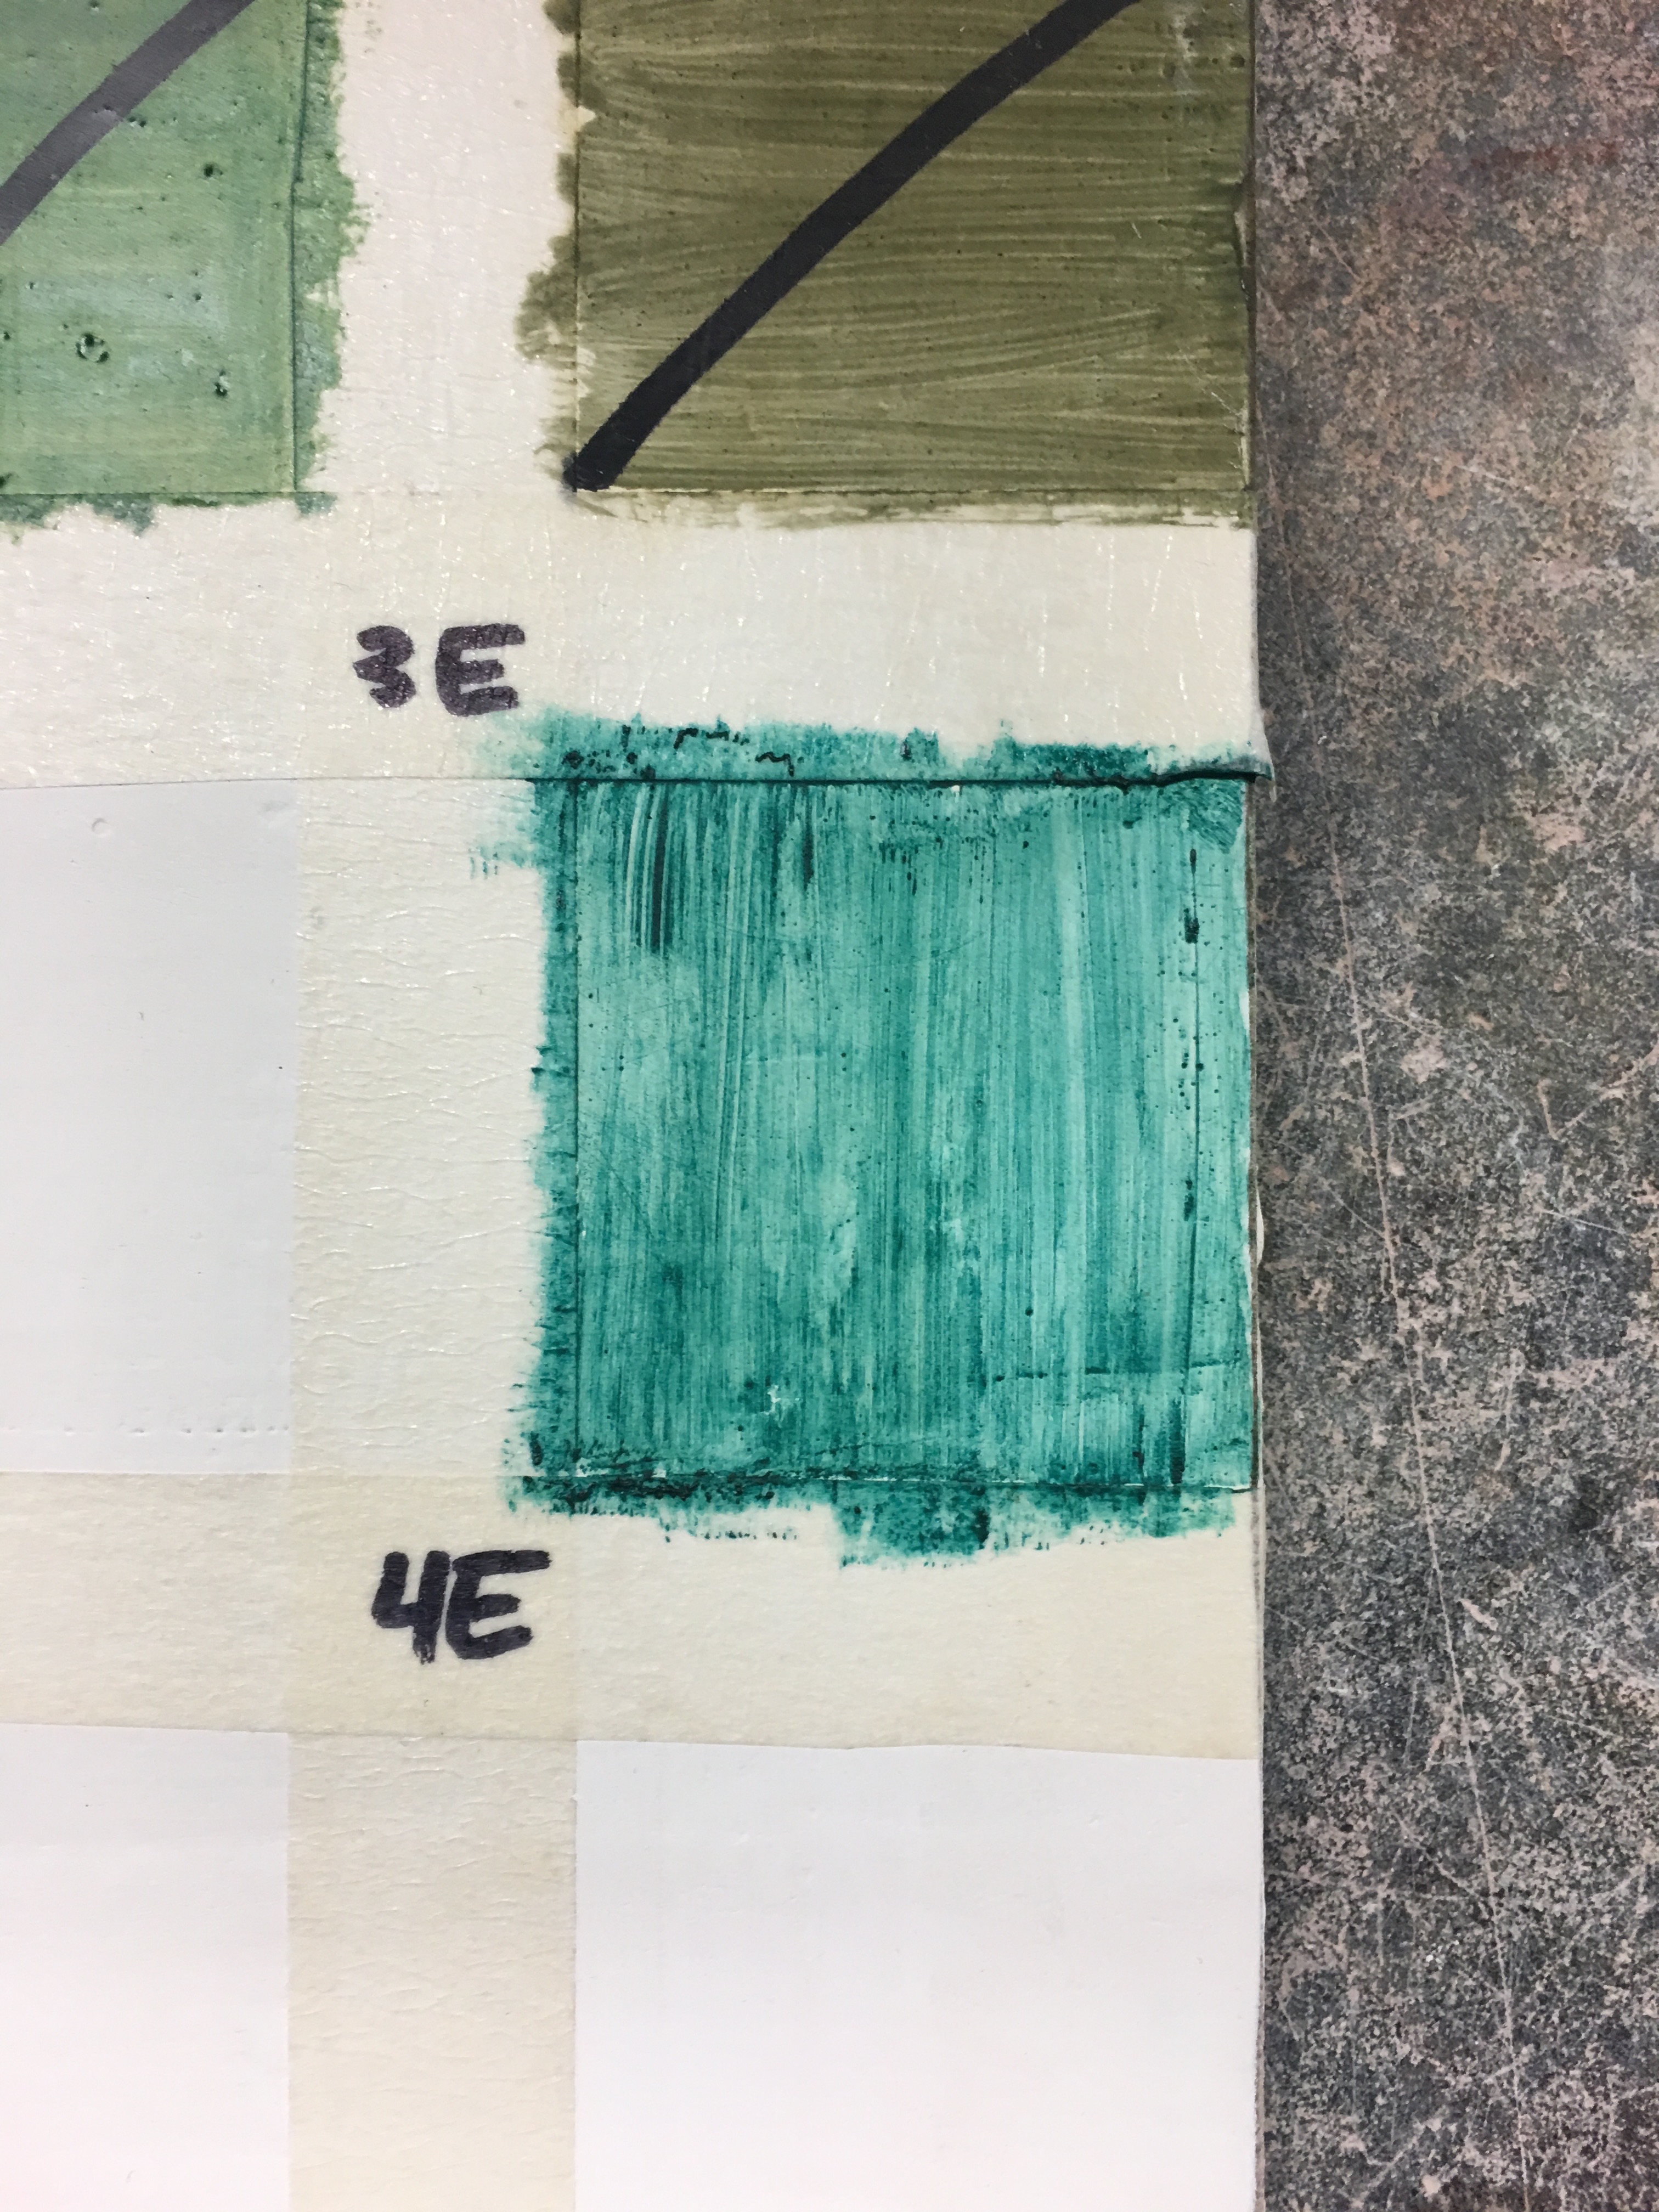
2. After all the verdigris was off of the copper, I collected the shavings in the center of the plate and brought the plate to the jar of linseed oil. Using a pipette, I placed a couple of drops of the oil into the pile of verdigris on the plate. I then used the palette knife to mix the oil and verdigris together. I also used the muller to further mix the two together and "smooth" the paint. The verdigris turned a deep blue, almost black. I did not have much verdigris, so I only used three drops of oil. I was unsure of how much oil to add, and how much would be enough to make a good paint, especially since I do not have much experience with painting of any sort. Professor Smith advised me that too much oil would make the paint "runny," so I refrained from adding more of the linseed oil and thinning out the paint.

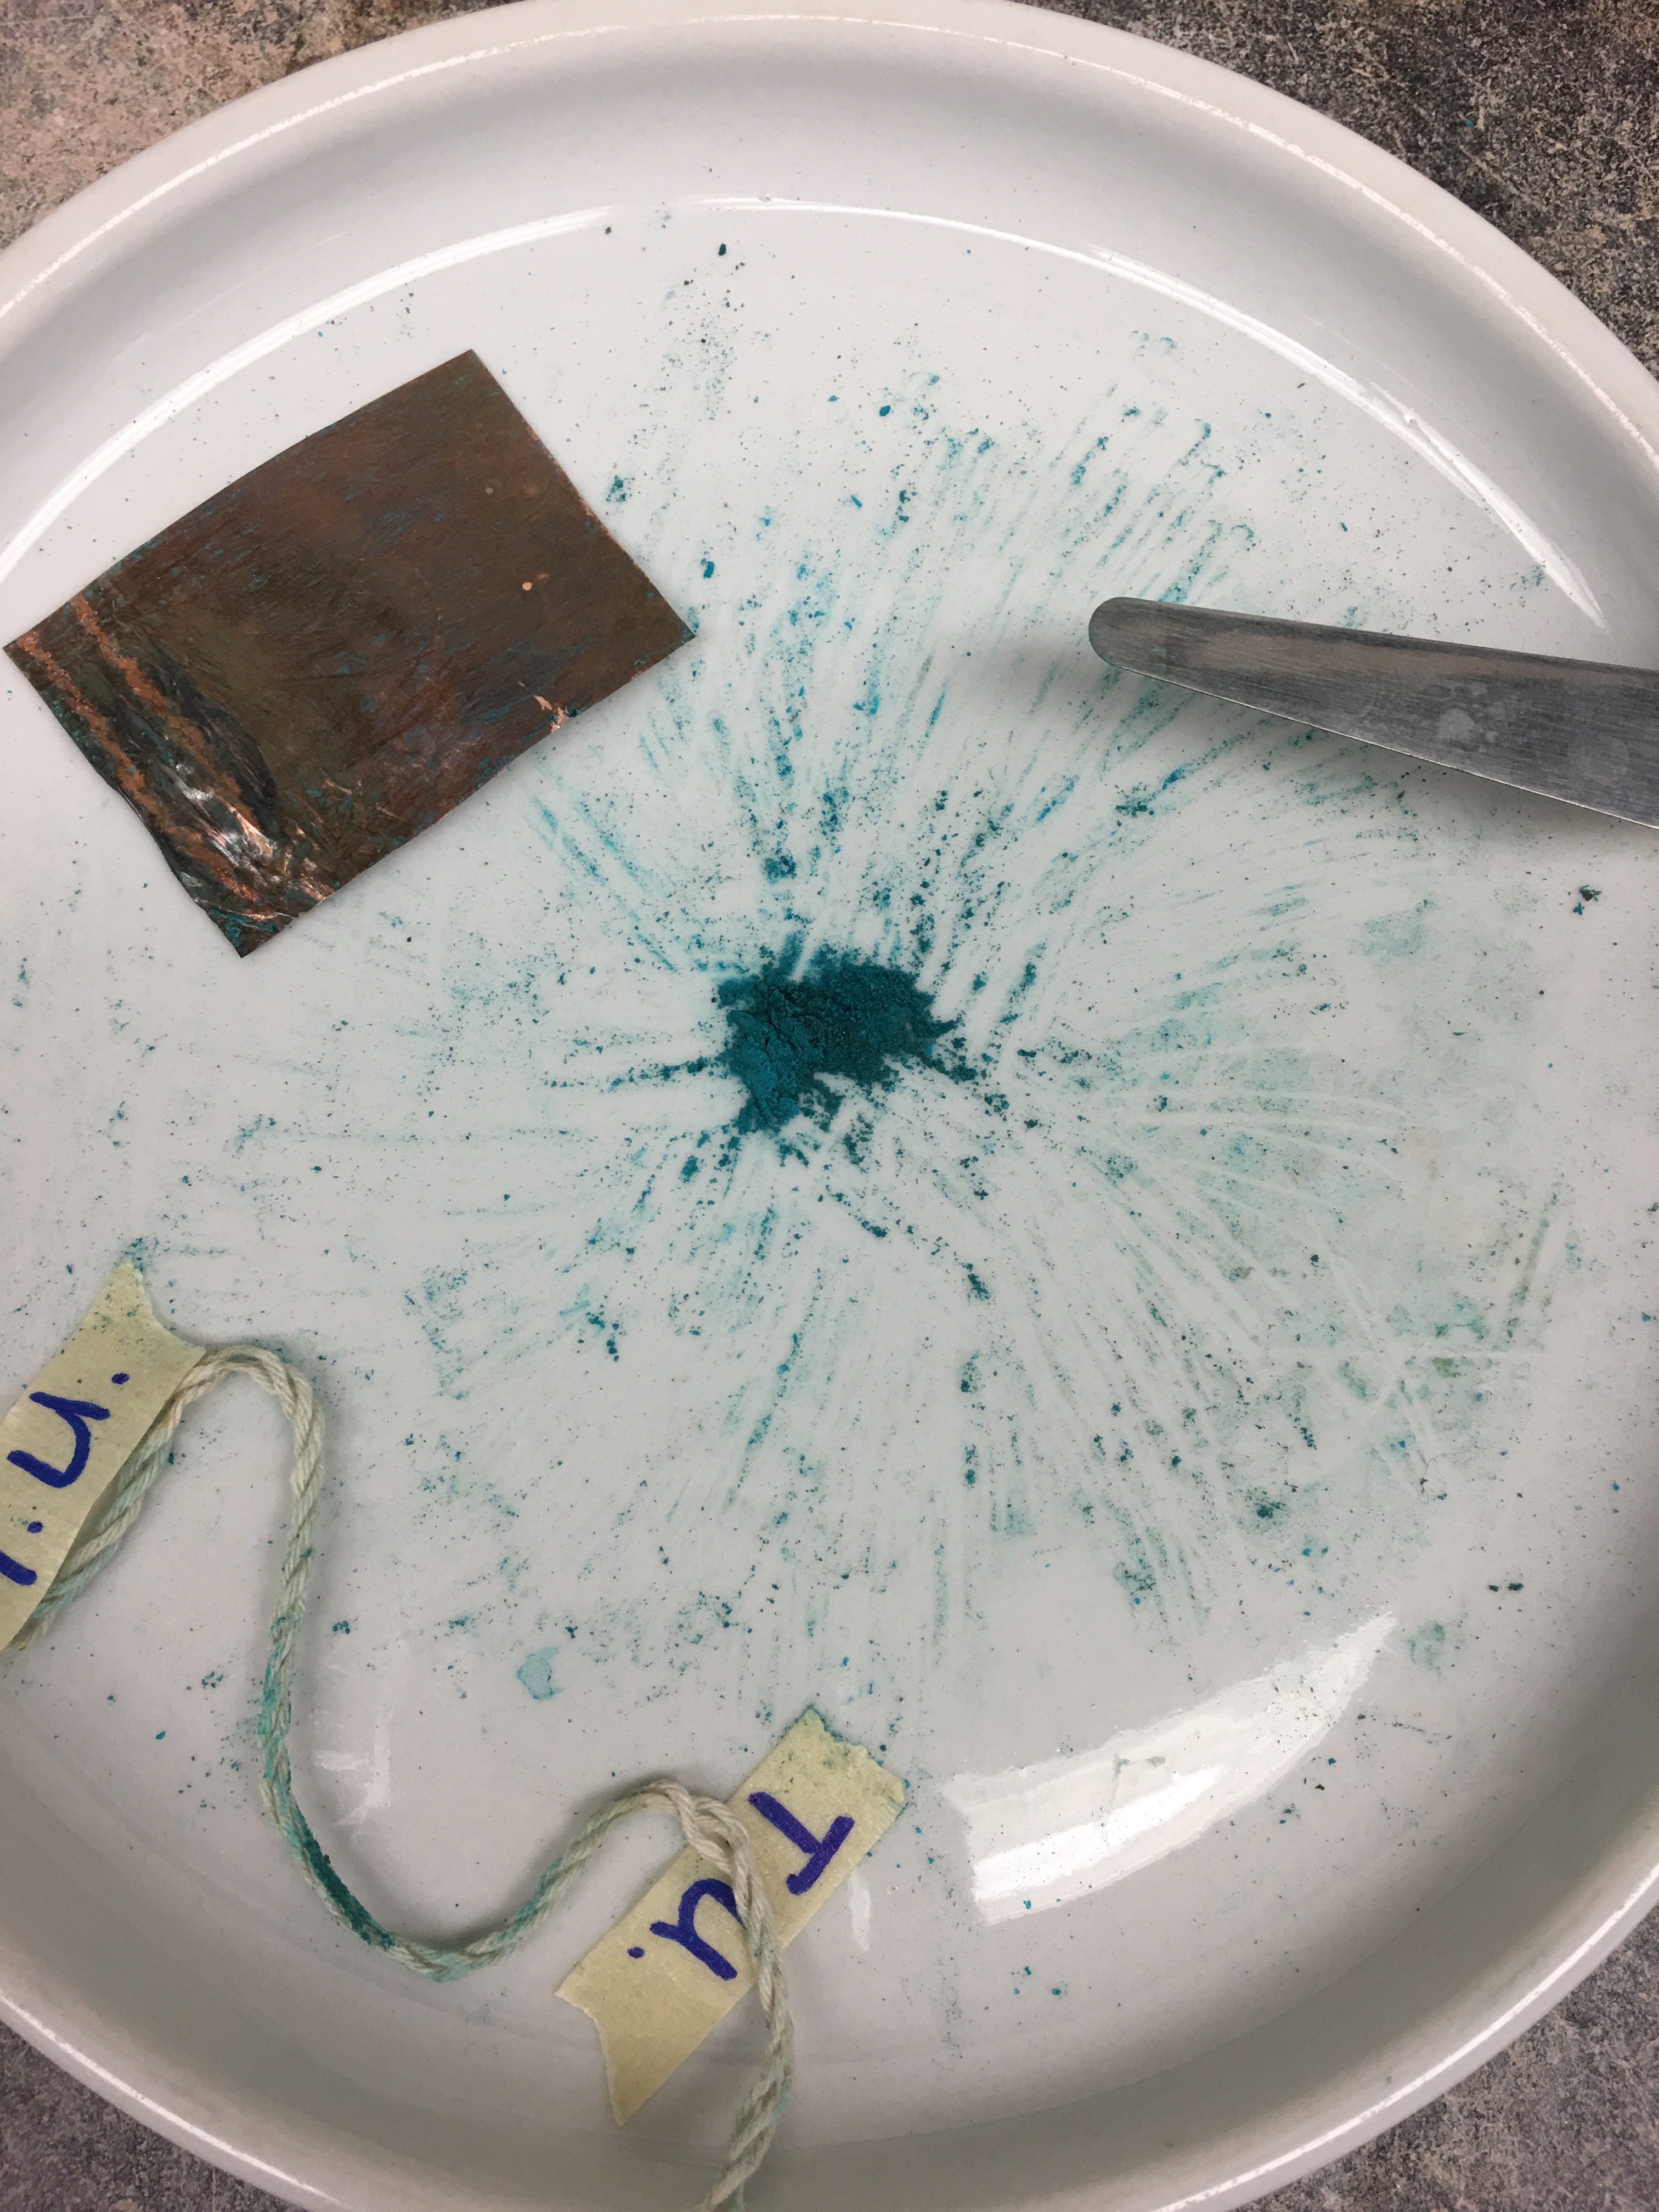
3. Once this process was complete, I used this paint to cover a square on the paint board. The paint turned out to be darker than I imagined it would be, which could either be the result of the oil or the brush I was using. I had selected an oil brush from the lab, but the brush itself was rather stiff and might not have dried well. As a result, it was difficult to paint out this square (3E)
Trail 2 - Walnut oil
Ingredients and tools:
- verdigris (I used verdigris kept in the lab from 01/25/16, made with 5% red wine vinegar)
- walnut oil (supplied by lab)
- ceramic plate
- palette knife
- oil paint brush
- pipette
Procedure:
1. I did not need to scrape the verdigris off of the copper this time; the verdigris was already in a jar in the lab. I poured out a tiny amount onto my ceramic plate.
2. Then, I brought the plate over to the walnut oil and, using the pipette, placed a few drops onto my verdigris and mixed with my palette knife. This time, I ended up using four drops of the oil. I then used the muller as well, to ensure the paint was smoothly mixed. The verdigris in this trial started off as a much brighter blue than the previous trial, but ended up making a similar color when mixed with the walnut oil.
3. When I painted out this verdigris sample, I selected a different brush and the process of painting was much smoother. However, I am not sure that I had enough paint to sufficiently cover the square on the board, and the color is a bit paler as a result of being spread rather thinly over a white area (3D).
